Agent Auth
Broodnet implements the Agent Auth Protocol — an open standard for giving AI agents their own identity and scoped access to services. Instead of sharing API keys, each agent registers through a host, requests specific capabilities, and gets explicit approval before it can act.
Agent Auth is built on @better-auth/agent-auth, the reference server implementation. The official Agent Auth CLI and SDK handle key management, registration, and approval polling for you.
Quick start
Section titled “Quick start”The fastest way to connect an agent to Broodnet:
1. Create a host in the dashboard
Section titled “1. Create a host in the dashboard”Go to the Hosts tab and click Create host. Choose which capabilities agents on this host should have. You’ll get an enrollment token.
2. Enroll the host
Section titled “2. Enroll the host”Use the Agent Auth CLI to exchange the enrollment token for a persistent keypair:
npx @auth/agent-cli enroll-host \ --provider https://api.broodnet.com \ --token YOUR_ENROLLMENT_TOKEN \ --name "My Server"The CLI generates and stores an Ed25519 keypair locally at ~/.agent-auth/. The host status changes to active in the dashboard.
3. Connect an agent
Section titled “3. Connect an agent”Register an agent and request capabilities:
npx @auth/agent-cli connect \ --provider Broodnet \ --capabilities mailbox:list mailbox:create \ --name "My AI Assistant"If the host has default capabilities that match the request, they are granted automatically. Otherwise, a device authorization flow starts — the CLI prints a user code and approval URL. Open the URL in your browser, approve the request, and the agent activates.
4. Execute capabilities
Section titled “4. Execute capabilities”Once approved, the agent can execute actions:
# List mailboxesnpx @auth/agent-cli execute <agent-id> mailbox:list
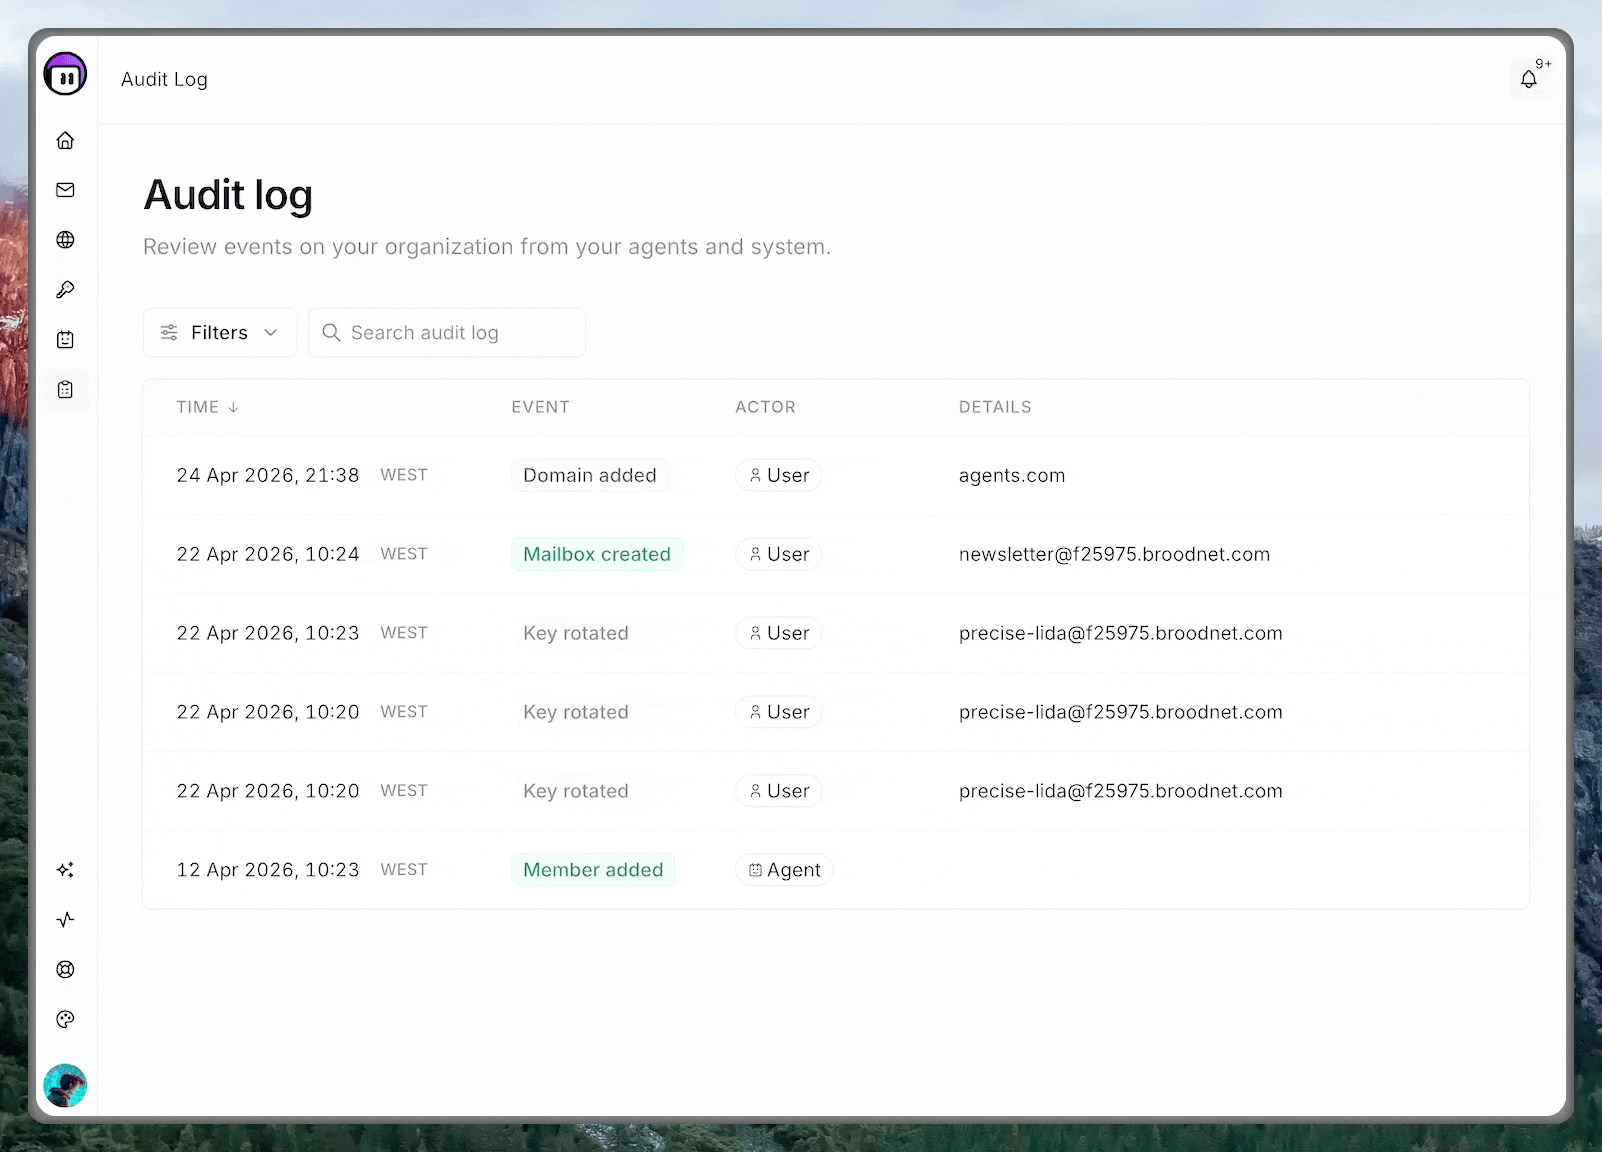
# Create a mailboxnpx @auth/agent-cli execute <agent-id> mailbox:create \ --args '{"name": "my-agent"}'Every execution is logged in the agent’s activity history in the dashboard and the audit log.
Using the SDK
Section titled “Using the SDK”For programmatic integration, use the @auth/agent SDK:
npm install @auth/agentimport { AgentAuthClient } from "@auth/agent"
const client = new AgentAuthClient({ // discovers Broodnet via /.well-known/agent-configuration})
// Discover Broodnetawait client.discoverProvider("https://api.broodnet.com")
// Connect an agent (handles keypair, registration, and approval polling)const agent = await client.connectAgent({ provider: "Broodnet", capabilities: ["mailbox:list", "mailbox:create"], name: "My AI Assistant",})
// Execute a capabilityconst result = await client.executeCapability({ agentId: agent.agentId, capability: "mailbox:list",})The SDK also ships with tool adapters for Vercel AI SDK, OpenAI, and Anthropic.
Using the MCP server
Section titled “Using the MCP server”The CLI can run as an MCP server, exposing Agent Auth tools to AI assistants like Claude Code or Cursor:
npx @auth/agent-cli mcp --url https://api.broodnet.comOr add to your MCP settings:
{ "mcpServers": { "broodnet": { "command": "npx", "args": ["@auth/agent-cli", "mcp", "--url", "https://api.broodnet.com"] } }}Concepts
Section titled “Concepts”A host is the environment where your agents run — a server, container, laptop, or cloud function. Each host holds an Ed25519 keypair. Agents running on that host sign their requests with the host’s private key. Broodnet verifies them with the stored public key.
When you create a host, it is bound to your active organization. This determines which organization’s resources (mailboxes, domains) agents on that host can access. The binding is permanent.
Hosts are created from the dashboard and appear under the Hosts tab. Revoking a host immediately blocks all agents running on it.
Agents
Section titled “Agents”An agent is a program that acts on behalf of your organization — provisioning mailboxes, managing domains, or performing other tasks. Each agent is linked to a host and operates in delegated mode: the agent requests capabilities, and a user must approve each request before the agent can use it.
Capabilities
Section titled “Capabilities”Capabilities define what an agent is allowed to do:
| Capability | Action |
|---|---|
mailbox:create |
Create a new mailbox |
mailbox:list |
List existing mailboxes |
mailbox:delete |
Delete a mailbox |
mailbox:list-available |
List available (unassigned) mailboxes |
mailbox:adopt |
Adopt an existing mailbox |
domain:add |
Add a custom domain |
domain:remove |
Remove a domain |
domain:list |
List domains |
domain:verify |
Verify domain DNS records |
Each capability grant has a status: active (approved), pending (awaiting approval), or denied.
Capability approval
Section titled “Capability approval”For delegated agents, capability approval uses the device authorization flow:
- The agent requests capabilities and receives a user code (e.g.,
ABCD-1234) - The agent displays this code to the user (the CLI does this automatically)
- The user opens the approval URL in the Broodnet dashboard and enters the code
- The dashboard shows which agent is requesting which capabilities
- The user approves or denies the request
Approval requests expire after 15 minutes. Pending approvals also appear as a notification card on the Agents page.
Dashboard management
Section titled “Dashboard management”The Agents page in the Broodnet dashboard provides full visibility and control.
Hosts tab
Section titled “Hosts tab”- Create host — set a name and default capabilities, get an enrollment token
- View agents — see all agents registered through a specific host
- Rotate key — replace a host’s public key (takes effect immediately)
- Transfer ownership — move a host to another member of your organization
- Regenerate enrollment token — for hosts still pending enrollment
- Revoke — disable a host and block all its agents
Agents tab
Section titled “Agents tab”- Search and filter — find agents by name, filter by status
- View details — see an agent’s capabilities, host, and timestamps
- Activity log — every capability execution with result, duration, and timestamp
- Revoke or delete — disable or permanently remove an agent
Pending approvals
Section titled “Pending approvals”When agents have pending capability requests, a notification card appears at the top of the Agents tab showing the agent name, what it’s requesting, time remaining, and quick actions to deny or review the request.
Agent lifecycle
Section titled “Agent lifecycle”| Status | Meaning |
|---|---|
| Active | Operational, can execute approved capabilities |
| Pending | Registered but awaiting initial approval |
| Expired | Past its maximum lifetime, no longer operational |
| Revoked | Manually disabled by a user |
| Rejected | Denied during the approval process |
Agents have a session TTL (1 hour) and a maximum lifetime that varies by plan tier. When the maximum lifetime elapses, the agent expires and must be reactivated by the host. The system sends dashboard notifications when agents are within 24 hours of expiry. Agents in terminal states (revoked, rejected) are automatically cleaned up after 30 days.
Lifetime tiers
Section titled “Lifetime tiers”Agent credential lifetimes are enforced per plan:
| Plan | Max lifetime | Absolute lifetime |
|---|---|---|
| Free | 1 day | — |
| Founder | 7 days | — |
| Pro | 7 days | — |
| Team | 30 days | — |
| Unlimited | 30 days | 90 days |
- Max lifetime — hard cap from activation. After this, the agent expires and the host must reactivate it. The session TTL (1 hour sliding window) still applies within the max lifetime.
- Absolute lifetime — irrecoverable key wipe. After this, the agent’s keys are permanently deleted and it cannot be reactivated. Only available on the Unlimited plan as a compliance safety net.
Host revocation
Section titled “Host revocation”Revoking a host blocks all agents registered through it. This is a cascade — agents can no longer sign valid JWTs, capability execution fails, and in-flight sessions expire normally but cannot be renewed. Revocation cannot be undone. To restore access, create a new host and re-register the agents.